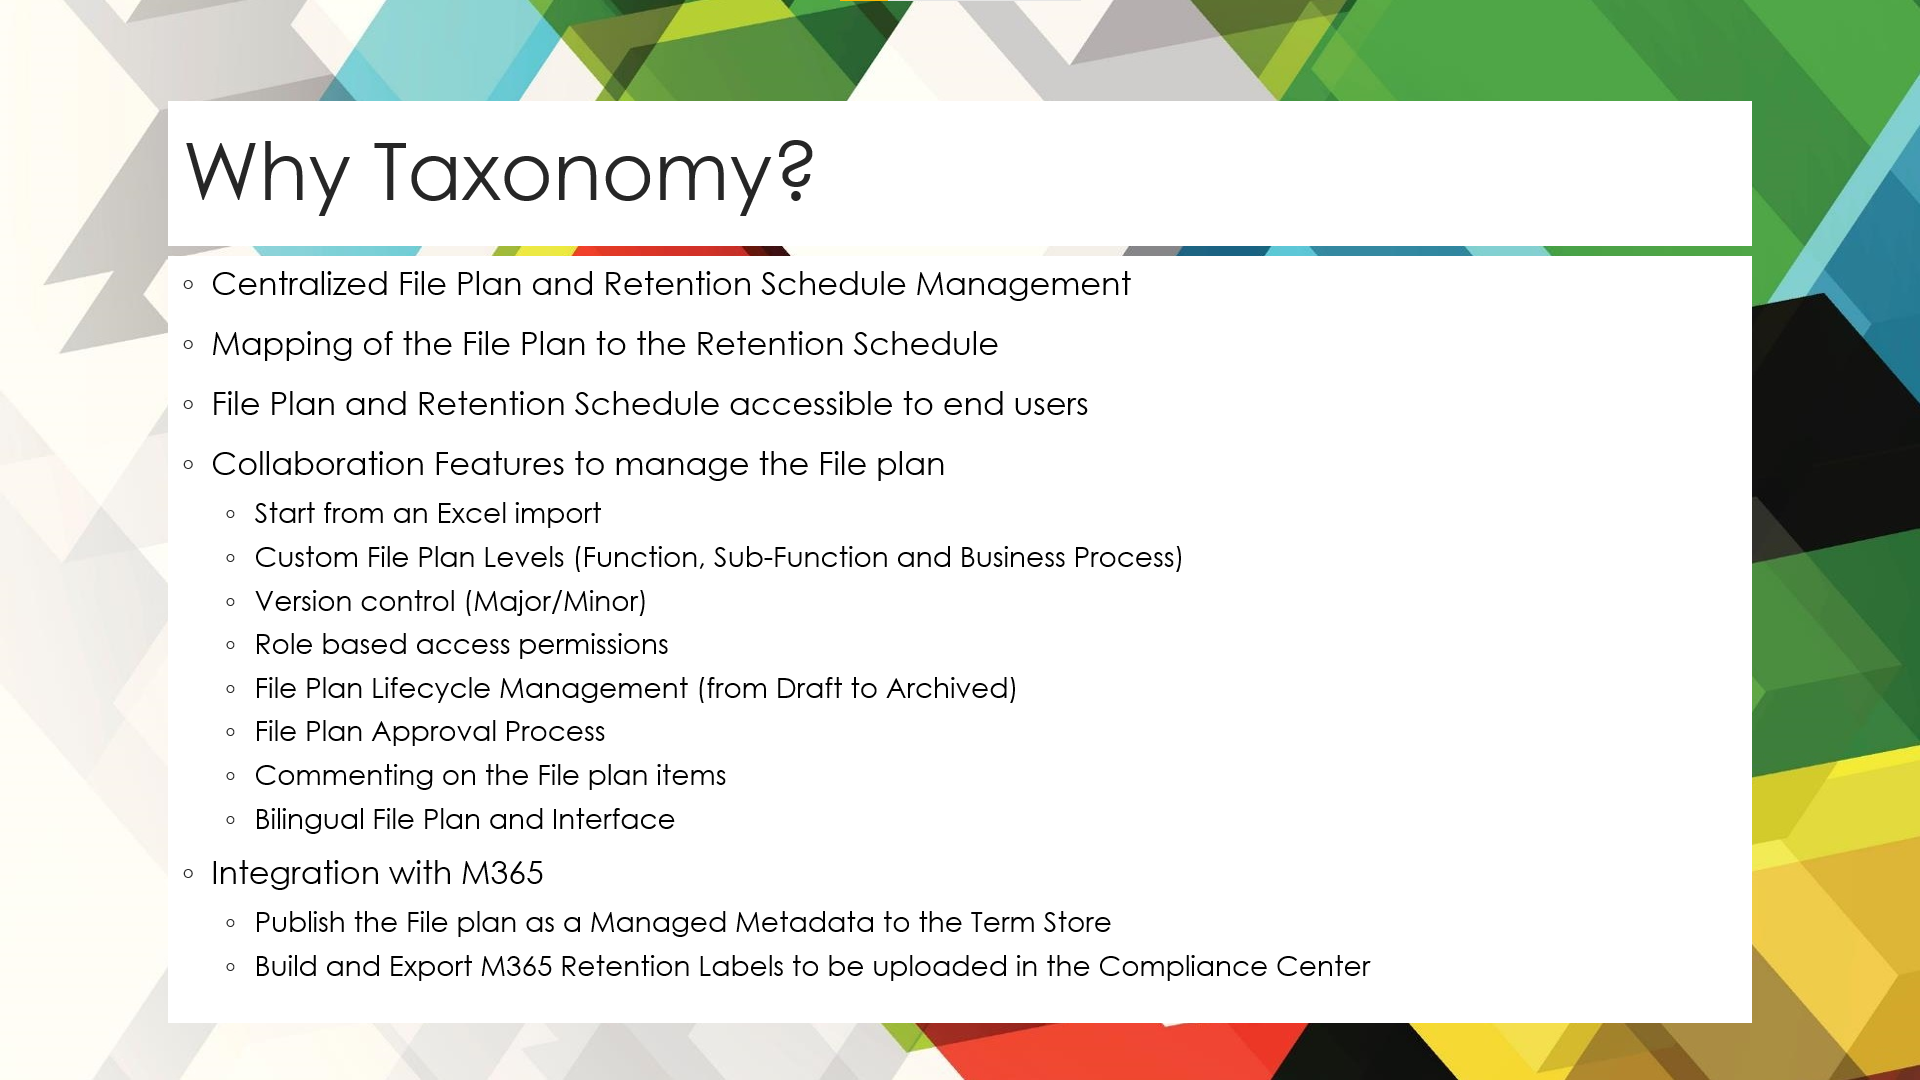
Taxonomy: A to Z
Taxonomy ::: The Full Process
How To Work with Taxonomy
everything you need to know About Taxonomy
01.
Import your file Plan
Instead of starting from scratch, it is possible to use the Excel file template to import the file plan to Taxonomy.
More details can be found in this post.
02.
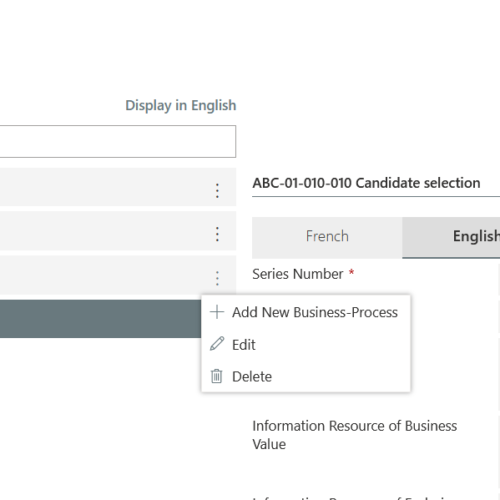
Edit the file Plan
The File Plan in Taxonomy follows the function-based file plan.
Taxonomy allows the creation of the file plan at the preferred level (Function, sub-function or business process).
Function-based file plans organize records based directly on the work processes that an office performs to fulfill its mandate and goals.
Identifying the level of the file plan depends on the level at which the retention schedule should be applied.
03.
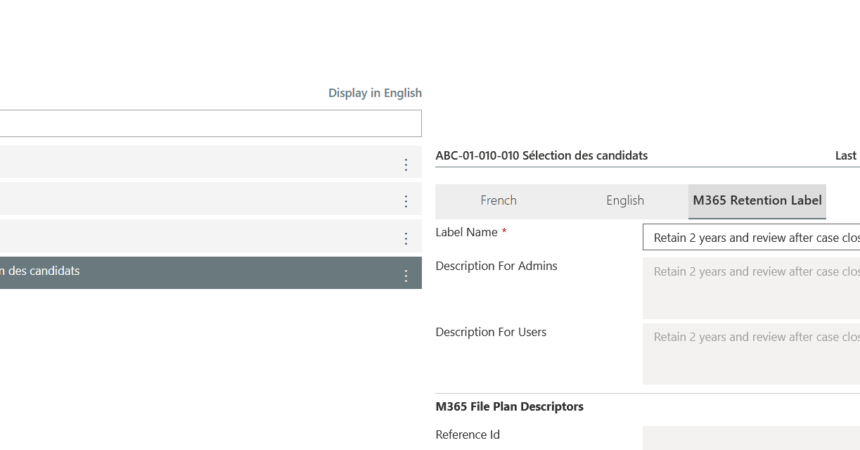
Create Retention Schedule
Create the M365 Retention Label at the lowest level of the file plan.
The M365 Retention Label form is similar to the form provided in the Compliance Center in the
Records Management Module, with much more flexibility and additional functionalities.
04.
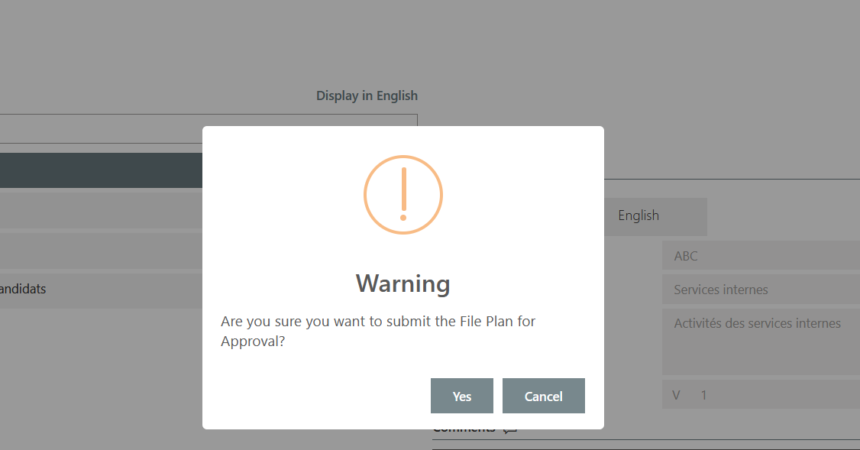
Submit and Approve the file Plan
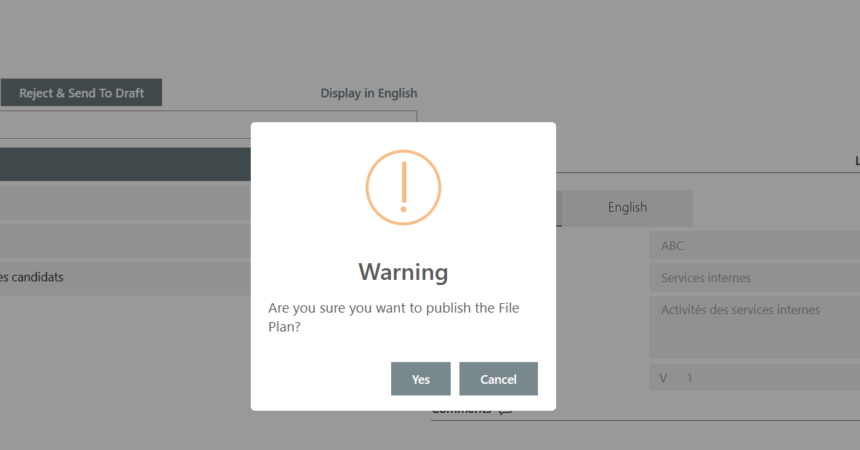
The File plan goes through different stages during its lifecycle: it starts as draft, then it is submitted for approval. when it is satisfies the IM requirements it is published.
During the Submission process, the system validates that all the fields in the file plan has a value in both languages.
Published file plans are available to any user who has guest access to the SharePoint site where Taxonomy is installed. Draft and Submitted versions of the File Plan are only accessible to the contributors listed in the Taxonomy Settings section.
05.
Upload The File Plan To The SharePoint Term Store
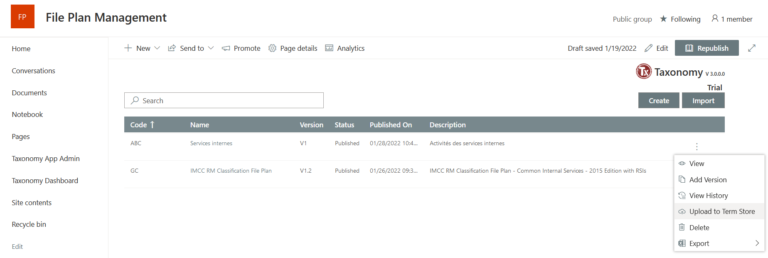
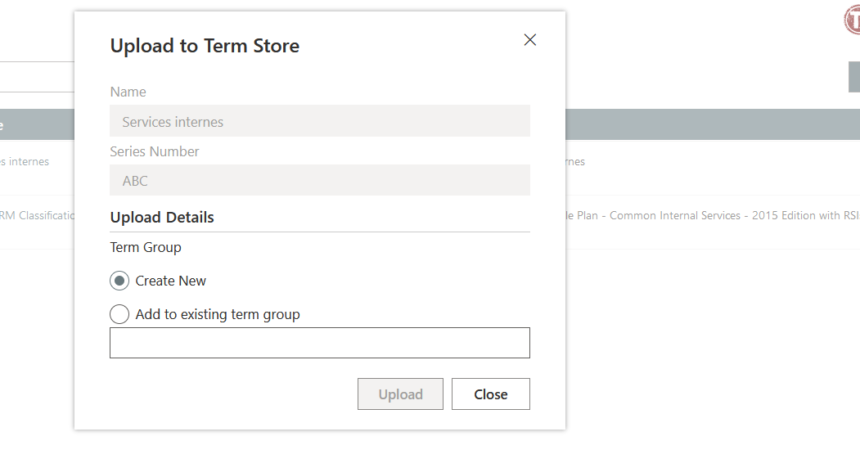
Right from within the App, you can upload your published File Plan as a Term Set in the Term Store.
Any changes to the file plan from a previous version will also take effect on the existing Term Set -- Make sure to upload the file plan to the same Term Group where it was uploaded the first time.
File Plan items (Function, sub-function or business process) that have been deleted in the file plan will be marked as deprecated in the Term Set.
Note: Two conditions must be satisfied for the Upload to work:
- Approve the request to allow Taxonomy to manage the Term Store. More details...
- The user who is executing the upload must be a Term Store admin.
06.
Create a site column Using the File Plan
The file plan can be used as a managed metadata column to classify information in SharePoint sites.
It is recommended that the column is created as a site column so it can be used in different libraries.
The site column can be set at the file plan level or at a specific level of the file plan targeting a specific function or a sub-function, e.g. if the column is added to a site for storing Human Resources information, the site column term set setting should select the sub-set Human Resource function in the Term Store.
07.
Apply The Column To Documents
As soon as the column is available as a metadata field in the document properties, users can start using it to classify information.
It is possible to default the managed metadata column to a specific value at the library level, which makes that value applied to all documents added to that library.
08.
Export Retention Labels
From within Taxonomy, use the function menu of the file plan to export the M365 Retention Label. This will export the retention labels in a predefined format that is accepted by the Compliance Center. View sample Excel file.
09.
Upload Retention Label to the Compliance Center
Navigate to the File Plan tab in Records Management module in the M365 Compliance Center, and click the Import button.
Importing the Retention Label csv file will create the retention labels in the file plan tab.
Note: in the case where an Event Based retention label is included in the csv file, make sure to create the related Event Type before running the import.
The retention labels are not in use until they are published using a label policy.
10.
Publish Retention Label
The Label Policy is the way that makes a retention label available in SharePoint sites and other M365 components.
To publish the retention labels, create a label policy in the Compliance Center under the section Label Policies.
11.
Apply Retention Label to a Library
Applying the retention label to library will ensure that all items added to the library inherit the retention label. Users in this case will not need to apply manually the retention label.
12.
Apply Retention Label to a Document
It is possible for users with the right permissions to manually apply or update the retention label for documents.
